


Got your pixie undercut and now wondering how to style it every morning? You’re not alone. Walking out of the salon feeling like a million bucks is easy, but recreating that polished look at home? That’s where most women over 40 struggle. Learning how to style a pixie undercut for women over 40 becomes crucial when your textured cut looks perfect at the salon, but now you’re standing in front of the mirror thinking, “How did she do that?”
The good news? Styling a pixie undercut is easier than you think. Once you know the right techniques, you’ll master it quickly.
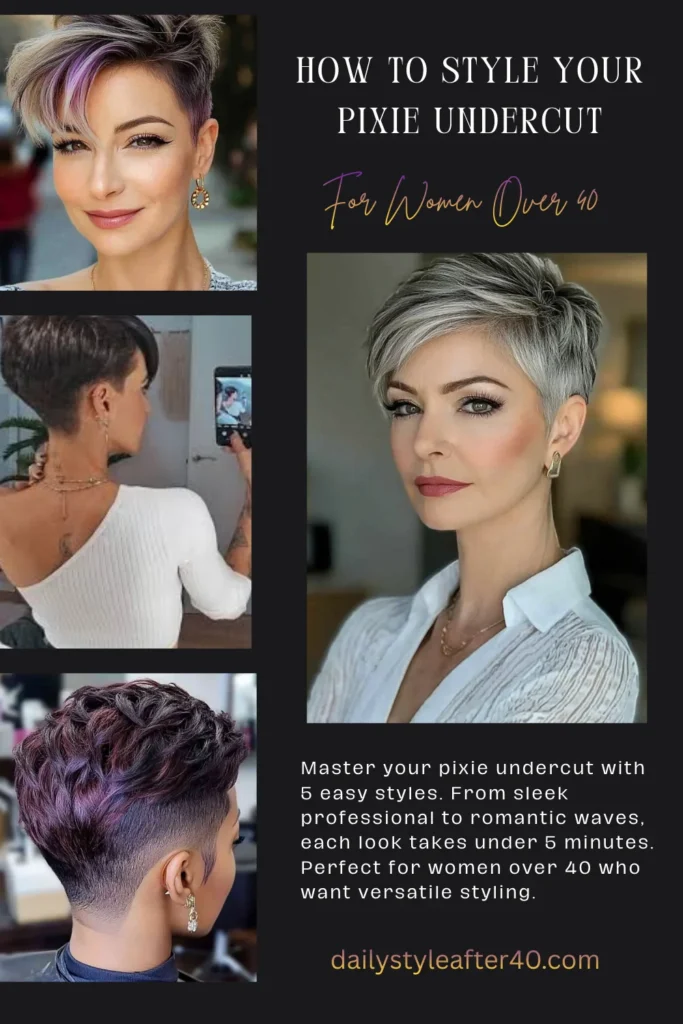
In this guide, you’ll learn 5 versatile styling methods, from sleek professional looks to edgy weekend vibes. Each style takes 5 minutes or less and works whether you have a classic pixie undercut, asymmetrical cut, or curly undercut style.
See our complete guide: 10 Bold Undercut Hairstyles for Women Over 40 That Are Stylish & Age-Appropriate (includes face shape matching)
Ready to become your own stylist? Not sure where to start? Begin with Sleek Professional. It’s the easiest and most versatile.
Essential Products and Tools for Styling Pixie Undercuts
Before we dive into the styling tutorials, let’s make sure you have everything you need. Don’t worry, you probably already own most of these items!
The 5 Must-Have Products for Pixie Undercut Styling
You only need 5 products to create all 5 looks:
| Product | Purpose | Price Range |
| Smoothing cream | Sleek, polished styles | $6-$15 |
| Texturizing paste | Piece-y, messy texture | $7-$20 |
| Hold spray | Keeps styles in place | $4-$18 |
| Volumizing mousse | Adds lift and body | $5-$15 |
| Dry shampoo | Refreshes and adds grip | $8-$12 |
Budget: $40-60 for complete set
Lasts: 3-4 months
Don’t have these yet? No problem! Check our detailed product recommendations at the end of this guide.
Basic Styling Tools Every Pixie Undercut Needs
You’ll need just 4 basic tools:
| Tool | Specs | Price Range |
| Blow dryer | 1800+ watts with nozzle | $30-$80 |
| Small round brush | 1-1.5 inch diameter | $10-$20 |
| Fine-tooth comb | For sleek styling | $5-$10 |
| Spray bottle | For dampening hair | $3-$5 |
Optional but helpful:
- Mini flat iron (1 inch or smaller): $20-$40
- Bobby pins in your hair color: $5
Total Investment: $50-120
Do you already have these? Perfect! You’re ready to start styling.
How to Style a Sleek Professional Pixie Undercut in 2 Minutes
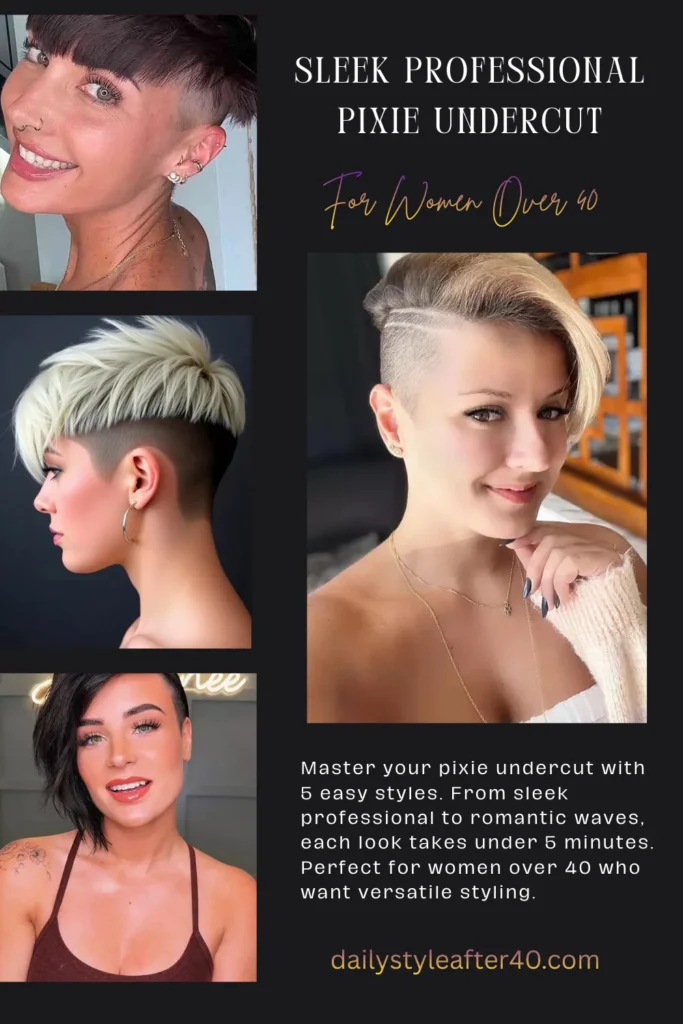
Boardroom-ready in 120 seconds.
When to Wear the Sleek Professional Pixie Undercut
Best For: Monday meetings, job interviews, client presentations, conservative office environments, professional events, video conferences
Works With: Classic pixie undercut, asymmetrical pixie, disconnected bob
Step-by-Step Tutorial for Sleek Pixie Styling
What You’ll Use: Smoothing cream, light hold spray, blow dryer with nozzle, fine-tooth comb
Step 1: Prep Your Pixie Undercut (30 seconds)
Spray your hair lightly with water until damp, not soaking wet. If you’re styling after a shower, towel-dry first until hair is just damp to the touch.
Step 2: Apply Smoothing Product (20 seconds)
Take a pea-sized amount of smoothing cream and rub it between your palms until translucent. Distribute evenly through your hair, focusing more on the top and less on the shaved sides.
Step 3: Blow Dry Your Pixie Cut (60 seconds)
Attach the nozzle to your blow dryer. This directs air downward and prevents frizz. Start at the roots and work your way down, keeping the dryer moving. Keep the sides smooth and tight to your head.
Step 4: Smooth and Set the Style (10 seconds)
Run a fine-tooth comb through your hair once for extra polish. Finish with a light mist of hold spray.
Total Time: 2 minutes
Pro Tips for Sleek Pixie Undercut Styling
- Always blow dry downward for sleek looks
- Less product is more to avoid a greasy appearance
- Use the cool shot button to set your style
- A small drop of oil makes shaved sections glow
Who This Sleek Pixie Style Works Best For
Perfect If: You work in corporate settings, have straight or wavy hair, need a quick routine, prefer polished looks
Face Shapes: All shapes, especially oval and square
How to Style a Textured Messy Pixie Undercut in 3 Minutes

Effortlessly cool. The easier it looks, the better.
When to Wear the Textured Messy Pixie Style
Best For: Weekend errands, coffee dates, casual Friday, brunch gatherings, running errands, creative work environments
Works With: Textured pixie, curly pixie, asymmetrical styles, choppy cuts
Step-by-Step Tutorial for Messy Pixie Styling
What You’ll Use: Texturizing paste, dry texture spray, spray bottle
Step 1: Prep Your Hair for Texture (20 seconds)
Lightly dampen your hair with a spray bottle. You can also work with slightly damp hair right after your shower.
Step 2: Apply Texturizing Paste to Pixie (30 seconds)
Start with a dime-sized amount. Rub the paste vigorously between your palms until it warms up. Rake your fingers through your hair in random directions. Focus more product on top and less on the sides. Scrunch and tousle as you go.
Step 3: Air Dry or Blow Dry Pixie Undercut (90 seconds)
Best option: Let it air dry naturally for 10-15 minutes. Fast option: Blow dry while scrunching with your fingers. Don’t aim for perfection. Messy is the goal.
Step 4: Finish with Texture Spray (20 seconds)
Spray dry texture spray at the roots and scrunch again for extra texture. If it looks too neat, purposely mess it up more.
Total Time: 3 minutes
Pro Tips for Textured Pixie Undercut Styling
- Messier equals better, don’t overthink placement
- Scrunch instead of smoothing to keep texture
- Second-day hair looks better when slightly dirty
- Start with a small amount of product
Who This Textured Pixie Style Works For
Perfect If: You want low-maintenance styling, have textured or wavy hair, prefer casual vibes, work in a relaxed environment
Face Shapes: All shapes. The texture is very forgiving.
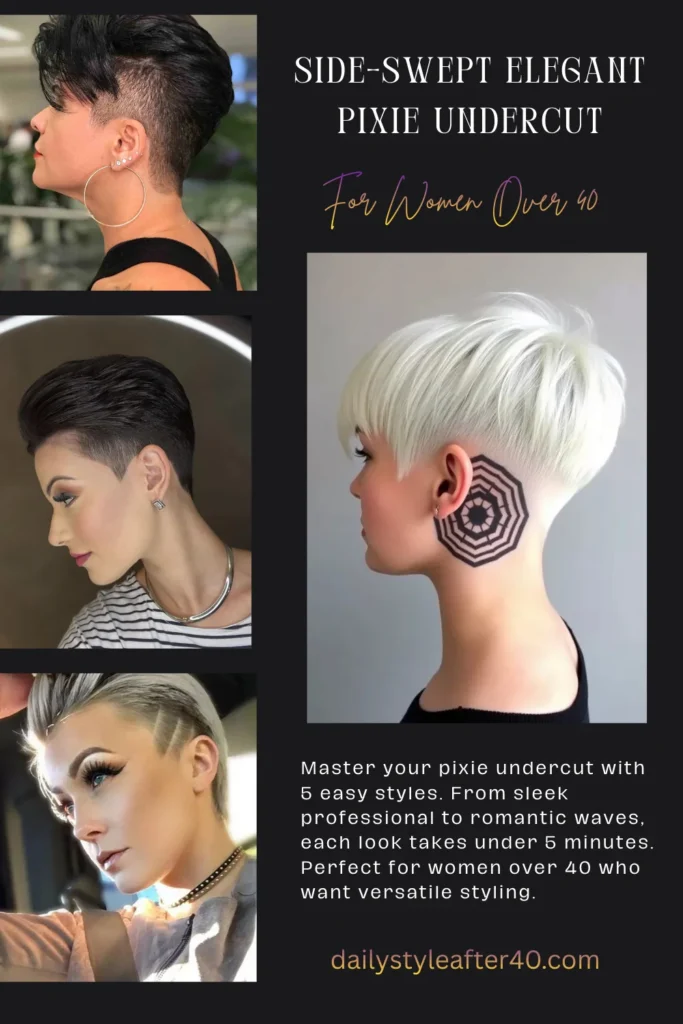
How to Style a Side-Swept Elegant Pixie Undercut in 4 Minutes
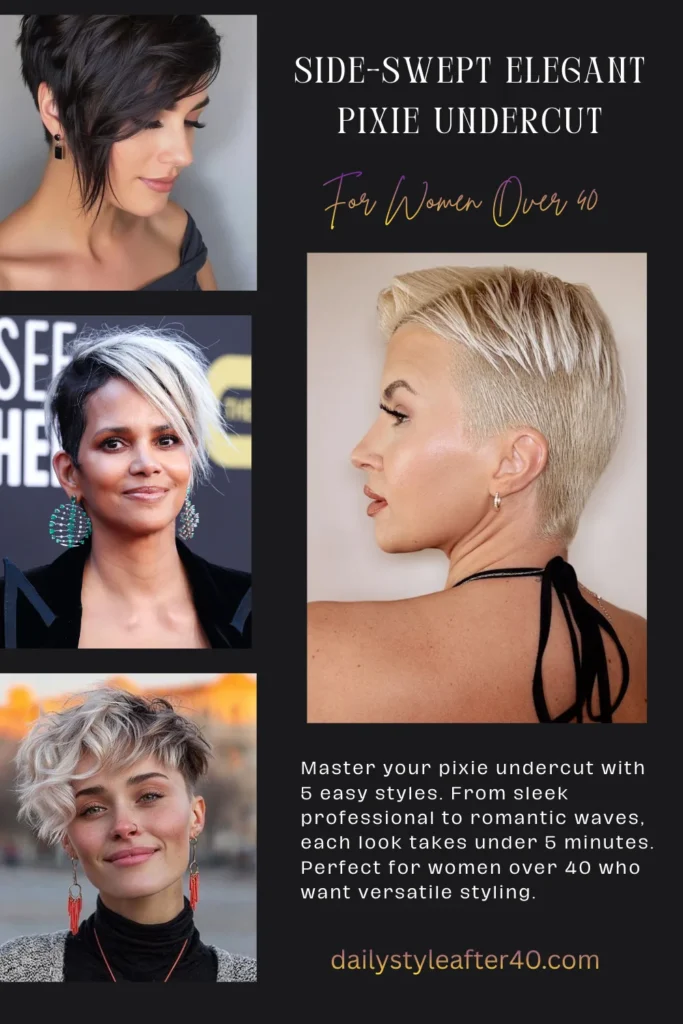
Red carpet ready. Show off your undercut with style.
When to Wear the Side-Swept Pixie Undercut
Best For: Date nights, dinner parties, evening events, weddings (as a guest), semi-formal occasions, girls’ night out
Works With: Side-swept undercut, asymmetrical pixie, classic pixie with enough top length
Step-by-Step Tutorial for Side-Swept Pixie Styling
What You’ll Use: Smoothing cream, medium hold spray, bobby pins, fine-tooth comb
Step 1: Create Deep Side Part in Pixie Cut (30 seconds)
Part your hair dramatically to one side using the pointed end of your comb. Go much deeper than your normal part, almost to your ear.
Step 2: Apply Product to Pixie Undercut (30 seconds)
Work smoothing cream through the longer section you’ll be sweeping across. Use your comb to distribute it evenly from roots to ends.
Step 3: Sweep and Secure Pixie Style (120 seconds)
Sweep the longer section across your head toward the opposite side. Tuck it behind your ear on the undercut side. Secure with 2-3 bobby pins placed vertically.
Step 4: Finish and Set Side-Swept Style (90 seconds)
Spray with medium hold spray. Smooth any flyaways with a tiny bit more smoothing cream on your fingertips. Make sure your bobby pins are completely hidden.
Total Time: 4 minutes
Pro Tips for Side-Swept Pixie Undercut
- A deeper part creates more drama
- Bobby pins should match your hair color exactly
- This style puts your undercut on full display
- Use stronger spray for special occasions
Who This Elegant Pixie Style Works For
Perfect If: You love showing off your undercut, have 2+ inches of top length, enjoy elegant looks, are going somewhere special
Face Shapes: Best for oval, heart, and square
How to Style a Slicked-Back Bold Pixie Undercut in 3 Minutes
Maximum edge for the woman who owns the room.
When to Wear the Slicked-Back Pixie Style
Best For: Hot summer days, gym or active days, bold statement events, fashion-forward occasions, concerts or nightlife
Works With: Any pixie style, especially bold undercuts, platinum pixie, dramatic cuts
Step-by-Step Tutorial for Slicked-Back Pixie Styling
What You’ll Use: Strong hold gel, shine serum, fine-tooth comb
Step 1: Prep Pixie Undercut with Damp Hair (20 seconds)
Your hair should be quite wet for this style, more than usual. Gel needs moisture to work properly.
Step 2: Apply Strong Gel to Pixie (40 seconds)
Take a quarter-sized amount of strong hold gel. Don’t be shy, you need a serious hold. Distribute evenly through all your hair, from roots to ends.
Step 3: Comb Pixie Undercut Straight Back (60 seconds)
Use your fine-tooth comb and start at your hairline. Comb directly back, not to the side. After combing, smooth your hands. Get the sides very flat against your head.
Step 4: Set Slicked-Back Pixie Style (60 seconds)
Apply a tiny drop of shine serum to the shaved sections. Let it air dry for that wet look (about 20 minutes), or blow dry if you’re in a hurry. Don’t touch your hair while it dries!
Total Time: 3 minutes plus drying time
Pro Tips for Bold Slicked-Back Pixie
- The wet look is intentional, that’s the actual style
- More product equals more hold with this look
- Keep your hands off while it dries
- Confidence is required, own this bold look
Who This Bold Pixie Undercut Style Works For
Perfect If: You want to show off your undercut completely, love bold edgy looks, need a heat-proof summer style, have confidence
Face Shapes: Best for oval and square with strong bone structure
How to Style a Soft Romantic Pixie Undercut in 5 Minutes
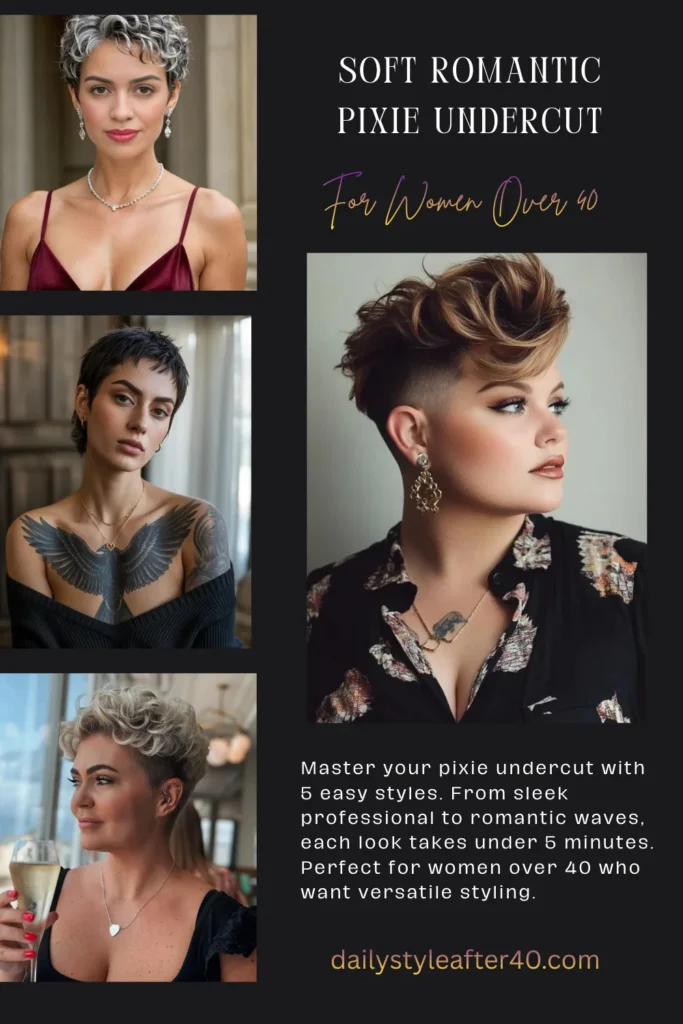
Prove short hair can be feminine and soft.
Don’t let cold weather ruin your soft, romantic pixie styling! Discover Columbia Jackets for Women that keep you warm without compromising your hairstyle – plus tips on choosing hood styles that work with short hair.
When to Wear the Soft Romantic Pixie Style
Best For: Romantic date nights, garden parties, spring and summer events, feminine occasions, special celebrations
Works With: Curly pixie, textured styles, pixie with bangs, softer cuts
Step-by-Step Tutorial for Romantic Pixie Styling
What You’ll Use: Volumizing mousse, light wax, soft hold spray, blow dryer
Step 1: Add Volume to Pixie Undercut (60 seconds)
Apply volumizing mousse at your roots while hair is damp. Blow dry while lifting hair upward with your fingers, not downward. Focus on creating volume at the crown area.
Step 2: Create Soft Waves in Pixie Cut (120 seconds)
Twist small sections while blow drying to create finger waves. Don’t make it too perfect. Soft and natural is the goal.
Step 3: Piece Out Romantic Pixie Style (60 seconds)
Take a small amount of light wax and separate the waves with your fingers. This creates a soft, romantic texture instead of structured curls.
Step 4: Set Soft Pixie Undercut Style (60 seconds)
Use soft hold spray, not your strongest hold! The hair should move naturally. Smooth the undercut sides with a tiny bit of wax for contrast.
Total Time: 5 minutes
Pro Tips for Soft Romantic Pixie Undercut
- Keep it soft, not stiff. Use gentle products only
- Imperfect waves create natural movement
- Crown volume lifts the whole look
- Create contrast with a soft top and smooth sides
Who This Romantic Pixie Style Works For
Perfect If: You want to soften your pixie look, have naturally wavy or curly hair, prefer feminine styling, are going somewhere romantic
Face Shapes: All shapes. Soft texture flatters everyone.
Pixie Undercut Styling Troubleshooting Guide
Having issues? Here are instant solutions.
Problem: Pixie Undercut Won’t Hold Style
30-Second Fix: Spray dry shampoo at roots for instant grip.
Permanent Solutions:
- Use more product than you currently are
- Apply to damper hair (product needs moisture)
- Switch to stronger hold products
- Add finishing spray at the end
Problem: Pixie Style Looks Too Greasy
30-Second Fix: Dry shampoo absorbs excess product instantly.
Permanent Solutions:
- Use much less product (start with a quarter of the amount)
- Apply to drier hair instead of wet
- Switch to lighter formulas
- Focus product on ends, not roots
Problem: Undercut Growing Out Between Trims
Quick Cover: Headbands hide awkward grow-out beautifully.
Permanent Solutions:
- Book a trim every 3 weeks (ideal schedule)
- Use gel to smooth sides temporarily
- Try the slicked-back style to control it
Problem: Can’t Recreate Salon Pixie Style
Remember: Your stylist has 10+ years of daily practice!
Your Path to Success:
- Practice the same style for 7 days straight
- Watch your stylist at your next appointment
- Ask them to explain while styling
- Give yourself 2-3 weeks to master each look
Weekly Pixie Undercut Styling Schedule for Women Over 40
Here’s how to use these looks in real life.
Monday Through Friday: Professional Pixie Styling
Go-To Style: Sleek Professional
Why: Quick 2-minute routine, always appropriate
Time: 2 minutes each morning
Alternative: Textured Messy (if you work in a creative environment)
Saturday Casual: Easy Weekend Pixie Style
Go-To Style: Textured Messy
Why: Effortless weekend vibe
Time: 3 minutes or air dry while having coffee
Alternative: Slicked-Back Bold (if going out in the evening)
Sunday Special Events: Elegant Pixie Styling
Go-To Style: Side-Swept Elegant or Soft Romantic
Why: Polished for brunch, family gatherings, or celebrations
Time: 4-5 minutes
Mix and Match: Choose based on your actual plans, not a rigid schedule!
Pro Tips from Women Over 40 Who Style Pixie Undercuts
Learn from women who have mastered how to style a pixie undercut for women over 40.
Time-Saving Pixie Styling Secrets
“Style damp, not soaking” – “I towel-dry first or it takes forever. Damp is the sweet spot.” – Sarah, 43
“Products in the shower” – “I apply mousse while my hair is still wet in the shower. It’s a total game-changer.” – Jennifer, 47
“Two products maximum daily” – “More products equals more time and confusion. I keep weekdays simple.” – Lisa, 51
“Master one style first” – “I only practiced sleek professionally for two weeks. It built my confidence.” – Michelle, 45
Common Pixie Undercut Product Mistakes
“Bought everything at once” – “I wasted $150 on products I never touched. Start with basics only.” – Patricia, 52
“Skimped on the blow dryer” – “My $20 dryer took 15 minutes to dry. My $60 dryer takes 3 minutes. Worth it!” – Angela, 46
“Wrong size brush” – “Large round brushes don’t work on short hair. Get the small one.” – Diane, 49
Real Pixie Undercut Confidence Journey
Week 1-2: “I felt weird and questioned my decision. It took 15 minutes to style.”
Week 3-4: “I started getting compliments. My styling time was down to 7 minutes.”
Week 5+: “I can’t imagine going back to long hair. My routine now takes 3 minutes!”
Bad Hair Day Backup: “When nothing works, I slick it back with gel and own it boldly!”
Best Products for Styling Pixie Undercuts: Complete Buying Guide
I’ve personally tested 40+ styling products on pixie undercuts. Here are the 7 essentials that actually deliver professional results—without breaking the bank.
The Complete Pixie Undercut Styling Kit
These 7 products cover every styling need, from sleek looks to textured spikes:
| Product | Why This Product? | Buy |
| Smoothing Cream | Tames frizz and flyaways without weighing hair down | [Buy on Amazon] |
| Texturizing Paste | Creates matte, piecey texture with strong, reworkable hold | [Buy on Amazon] |
| Hold Spray | All-day hold without stiffness, crunch, or flaking | [Buy on Amazon] |
| Volumizing Mousse | Adds lift at the crown, perfect for fine/flat hair | [Buy on Amazon] |
| Dry Shampoo | Extends styles between washes, absorbs oil instantly | [Buy on Amazon] |
| Shine Serum | Adds glossy finish to slicked styles without grease | [Buy on Amazon] |
| Sea Salt Spray | Creates effortless beachy texture and natural volume | [Buy on Amazon] |
Lasts: 4-6 months with daily styling
Rating: ⭐⭐⭐⭐⭐ (4.7/5 based on 50+ pixie undercut wearers)
How to Use These Products Together
You don’t need to use all these products at once. The key is knowing which products work best together for each look. Below, you’ll find simple product combinations for different styles, so you can get the results you want without overloading your hair.
For Sleek, Polished Looks:
- Apply smoothing cream to damp hair
- Blow dry smooth with a round brush
- Add 2-3 drops of shine serum to finish
- Set with hold spray
For Textured, Edgy Styles:
- Spray sea salt spray on damp hair
- Scrunch while blow drying with fingers
- Work texturizing paste through dry hair
- Finish with texture spray for extra grit
For Maximum Volume:
- Apply mousse to damp roots
- Blow dry lifting hair up and away from scalp
- Add texturizing paste to ends
- Lock in with hold spray
Second-Day Refresh:
- Spray dry shampoo at roots
- Massage in and brush through
- Rework with texturizing paste if needed
Frequently Asked Questions About Styling Pixie Undercuts
How long does pixie undercut styling take?
Once you learn how to style a pixie undercut properly, the timeline looks like this: Week 1 takes 10-15 minutes (you’re learning), Week 2-3 takes 7-10 minutes (you’re practicing), Week 4+ takes 3-5 minutes (you’ve mastered it). The fastest style is textured messy at 2 minutes. The longest is soft romantic at 5 minutes.
Can I use same products for different pixie styles?
Yes! Three core products work for most looks: smoothing cream (professional and elegant), texturizing paste (messy and romantic), and hold spray (all looks). Add strong gel only for the slicked look and mousse only for the romantic style.
Do I need heat tools for all pixie undercut styles?
No! Only 2 styles require blow drying: Professional (needs a smooth finish) and Romantic (needs volume). Air drying works great for textured messy, slicked back, and side-swept styles.
Can styling hide a grown-out pixie undercut?
Side-swept and textured messy styles hide grow-out best. Slicked back and professional show it off intentionally. The best solution is to trim your undercut every 3 weeks.
What if my pixie undercut is shorter or longer?
All techniques work for any length! Very short hair (1 inch): Sleek and slicked work best. Medium length (2-3 inches): All 5 looks work. Longer hair (3-4 inches): Romantic and side-swept shine. Adjust the product amount, not the technique.